How to fix paint chips on a car
Fixing paint chips is easier than you think, even if you’re not a professional
Renan Noval
8/23/20255 min read
Your Car Got a Boo-Boo? Here’s How to Fix Annoying Paint Chips
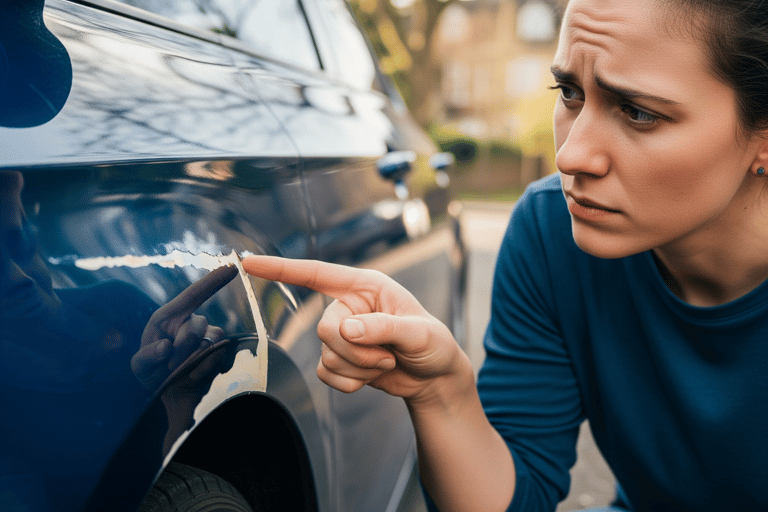
So, you just washed your car and it’s looking amazing… until you spot it. A tiny, super-annoying paint chip. Ugh. Those little chips are more than just ugly. They can let rust move in, which is a total party crasher for your car’s body. Plus, a fresh-looking car is worth more when you decide to sell it.
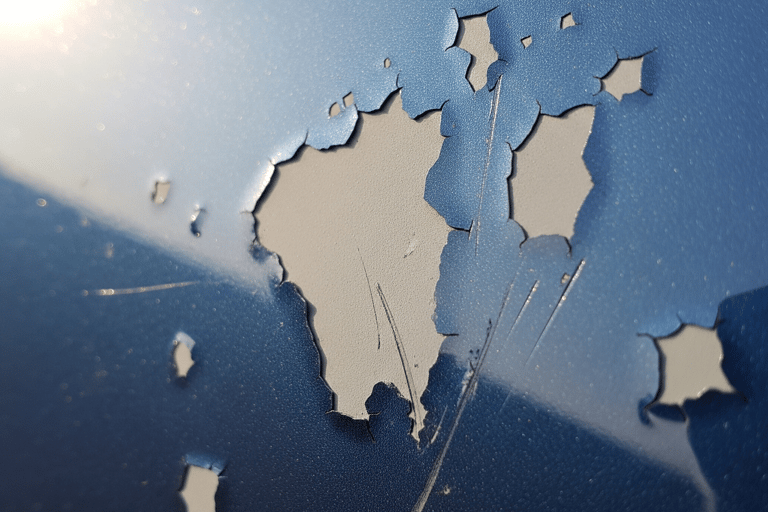
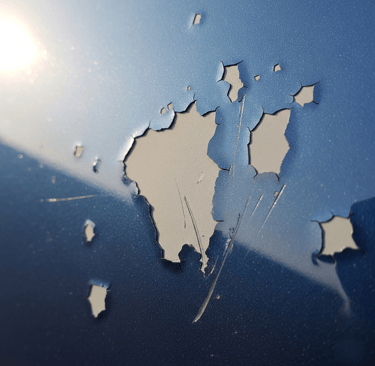
Those little chips are more than just ugly. They can let rust move in, which is a total party crasher for your car’s body. Plus, a fresh-looking car is worth more when you decide to sell it.
But don’t stress! Fixing paint chips is an easy win. You don’t need to be a car expert or spend a ton of cash. Let’s walk through how to give your ride a glow-up and fix those chips yourself.
How Do These Pesky Chips Even Happen?
Paint chips don’t just show up for no reason. Here are the usual suspects:
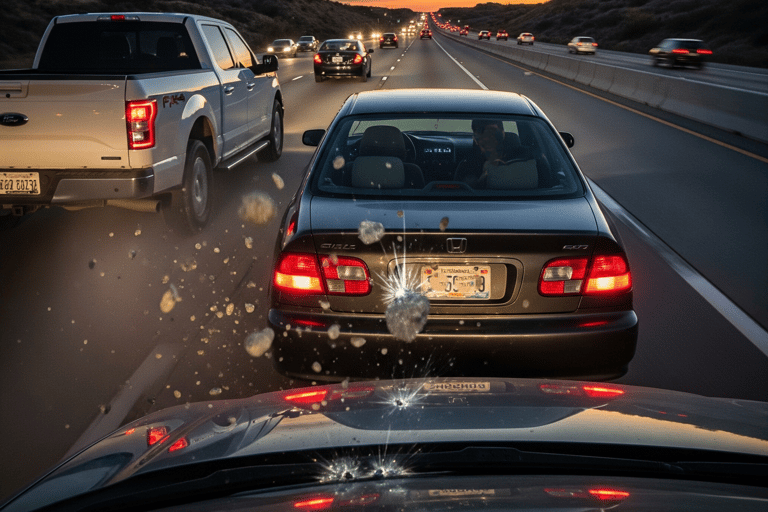
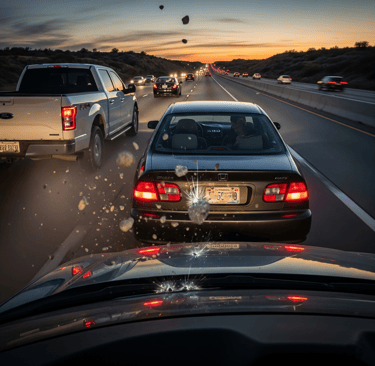
Road Goblins: Little rocks, gravel, and other junk on the road are the main villains. When a car in front of you kicks them up, they can smack into your paint.
Wild Weather: Hail is an obvious one, but even strong sun can weaken your car's paint over time, making it easier to chip.
Scrubbing Too Hard: Using a rough sponge or brush when you wash your car can scratch and chip the paint. Be gentle!
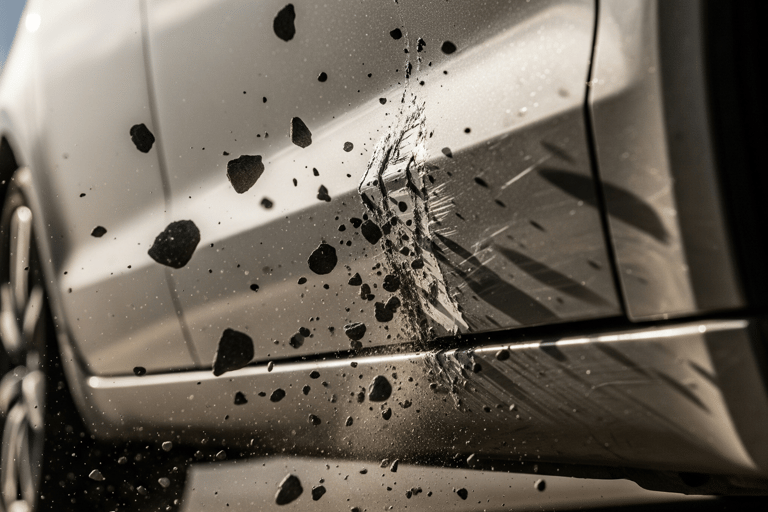
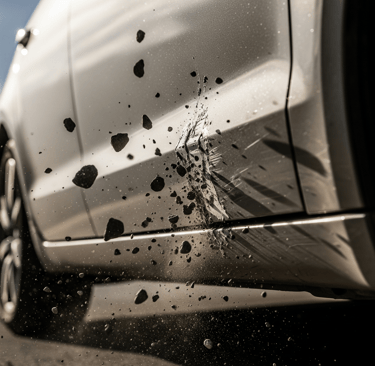
Basically, just driving around is the biggest risk. Fun fact: Most little dings and chips on cars come from stuff flying around on the road.
Seriously, Is It Worth Fixing a Tiny Chip?
YES! It’s totally worth it. Here’s why:
Stop the Rust! A paint chip is like an open wound on your car. If water gets in, it can start to rust. Rust spreads and can cause big, expensive problems later.
Keep It Looking Good. Let’s be real, nobody likes a car that looks beat up. Fixing chips brings back that new-car shine.
Get More $$$ Later. Thinking of selling your car one day? A well-kept car with great-looking paint will get you more money. It’s a no-brainer.
Your Easy Guide to Fixing Paint Chips
You got this. Fixing a small paint chip is easier than building IKEA furniture.
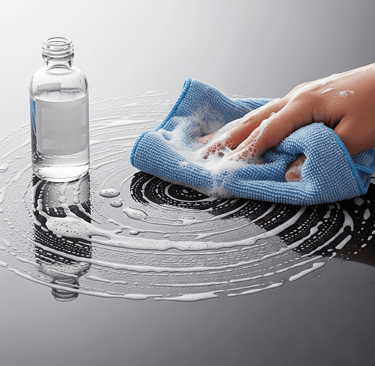
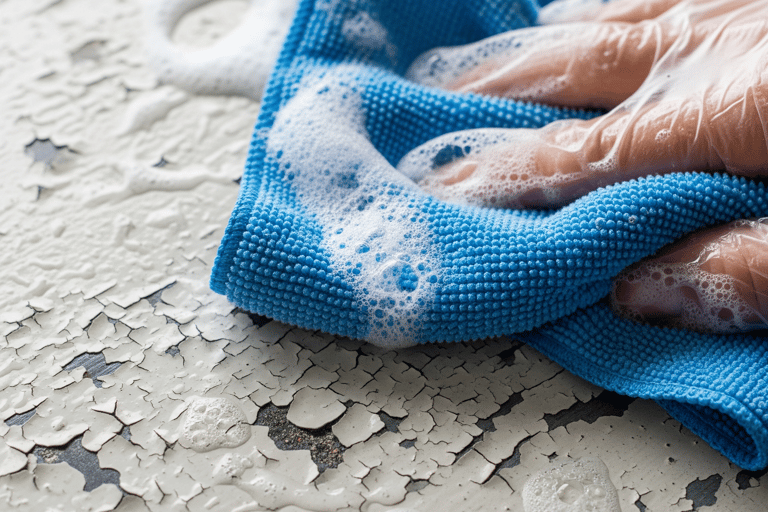
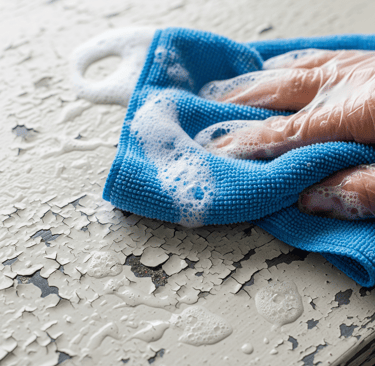
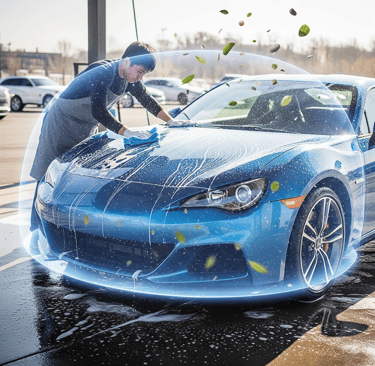
Step 1: Clean It Up 🧼 First, you have to clean the spot. New paint won’t stick to dirt or wax.
What you’ll need: A little soap, water, a soft cloth (like a microfiber one), and some rubbing alcohol.
How to do it: Wash the chip and the area around it with soap and water. Dry it completely. Then, put a little rubbing alcohol on your cloth and give the spot a final wipe-down.


How to Stop Chips from Happening in the First Place
You can’t prevent everything, but you can definitely lower your chances of getting chips.
Don’t Tailgate: The closer you are to the car in front, the more likely their tires will fling rocks right at you. Give them some space!
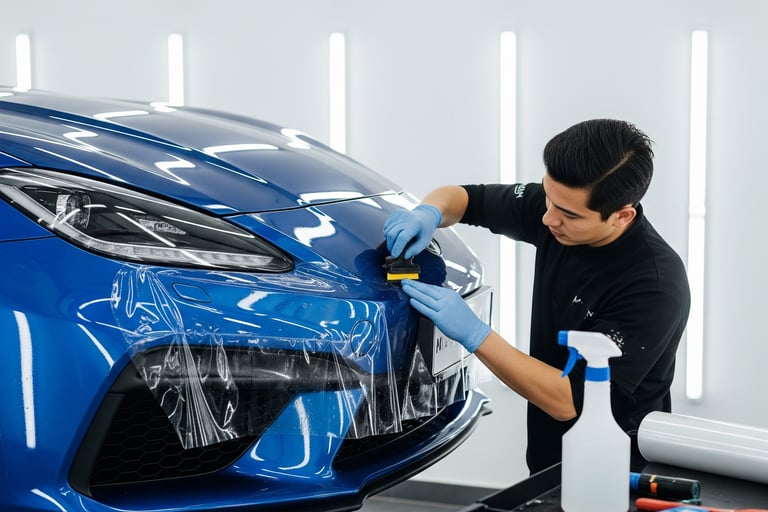
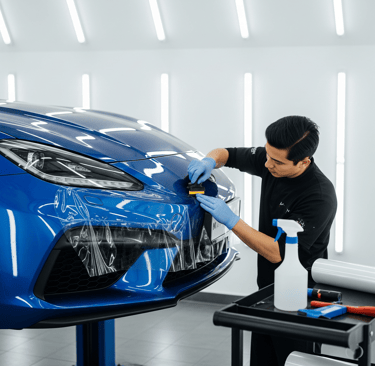
Get a "Car Bra" or Clear Film: You can have a clear, protective sticker put on the front of your car. It’s like a screen protector for your paint.
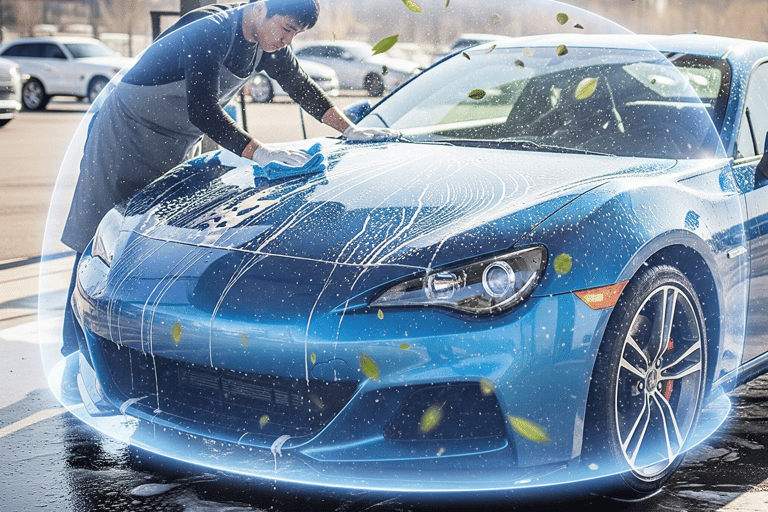
Wash and Wax: Regularly washing your car and putting on a coat of wax adds a thin layer of protection. Think of it like a force field against small debris.
And that’s it! Fixing a paint chip isn't scary. With a little bit of time, you can keep your car looking fresh and protect it from bigger problems down the road. You got this!
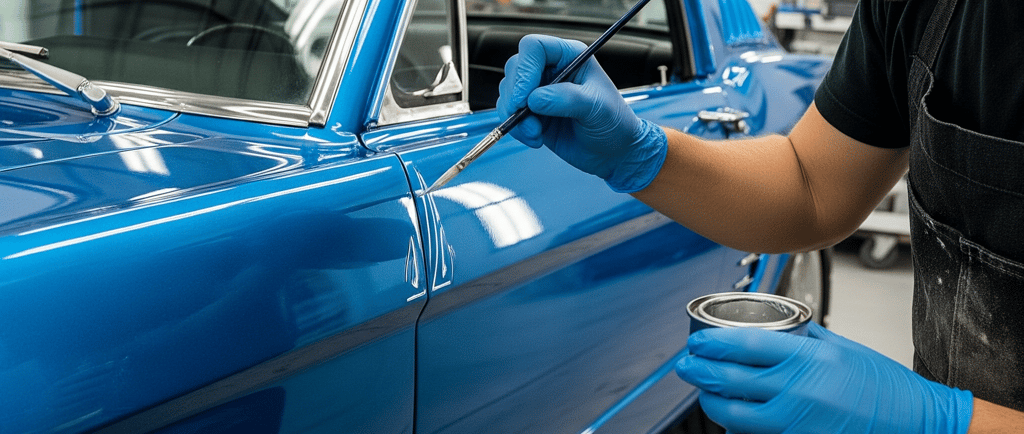
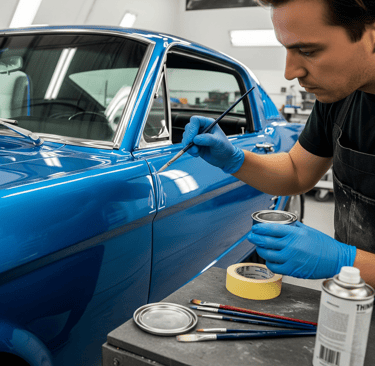
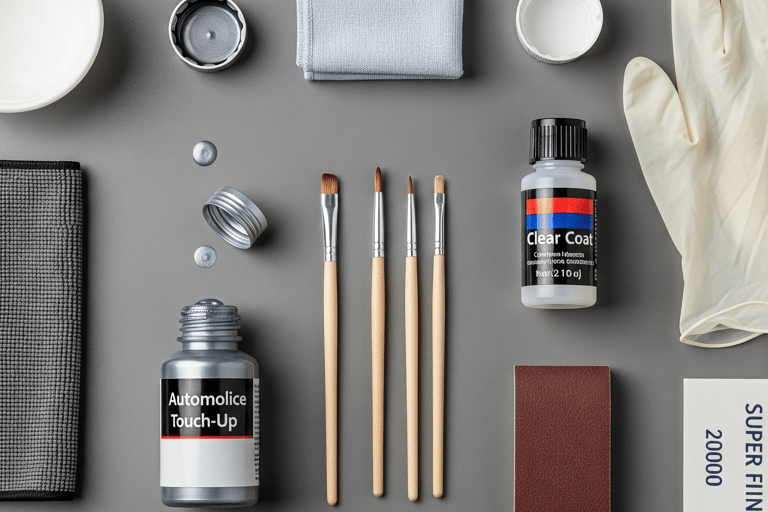
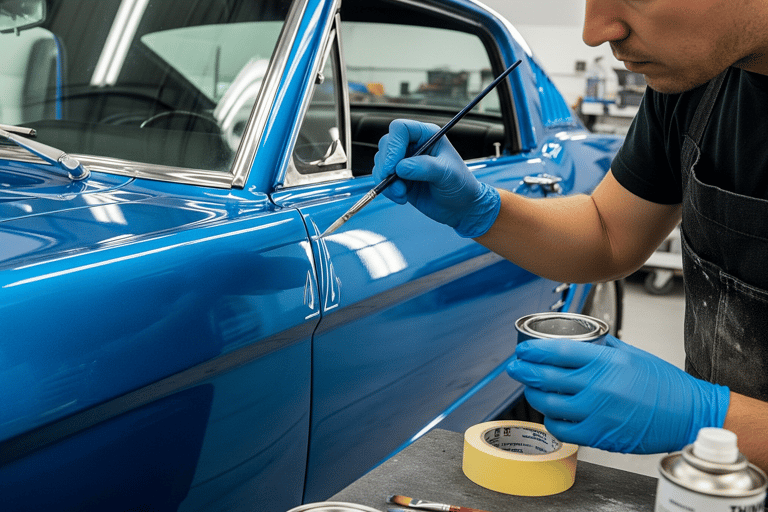
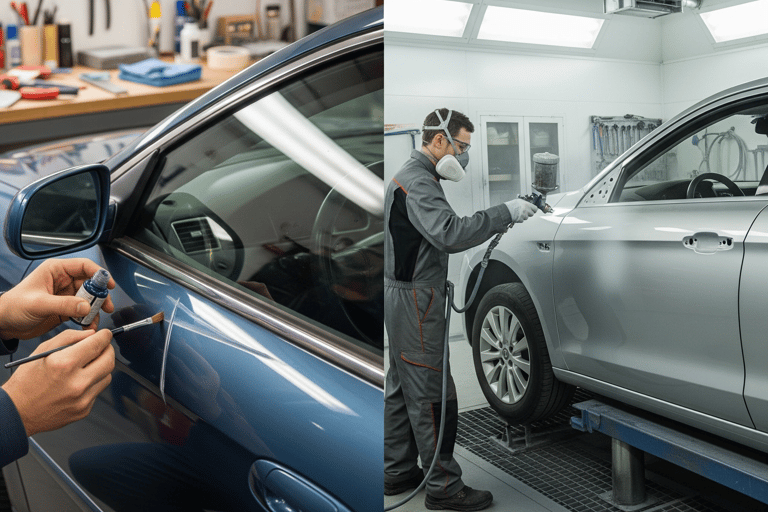
Step 3: Get Your Supplies 🛍️ Time for a quick shopping trip!
Touch-Up Paint: This is the most important part! You need the exact color for your car. Car companies sell small bottles of it that perfectly match.
Tiny Brushes: Think of a nail polish brush or even a toothpick for super small spots.
Clear Coat: This is the shiny, protective layer that goes on top.
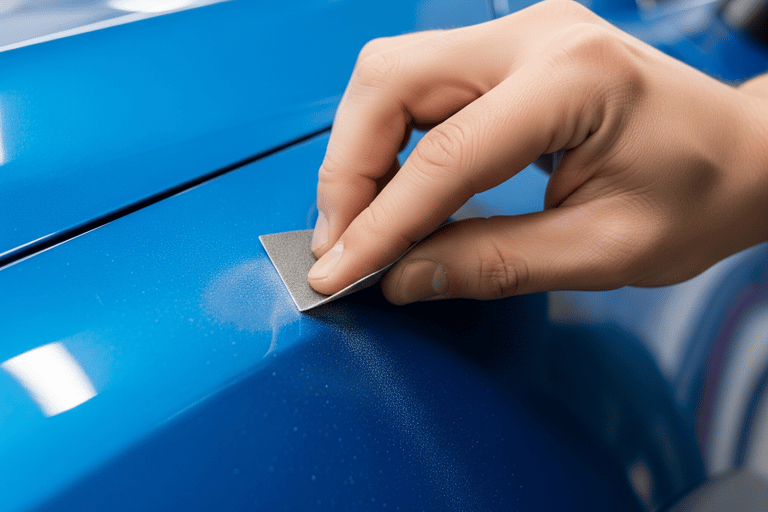
Super-Fine Sandpaper: Get a very high grit, like 2000-grit. It’s gentle enough not to scratch everything up.
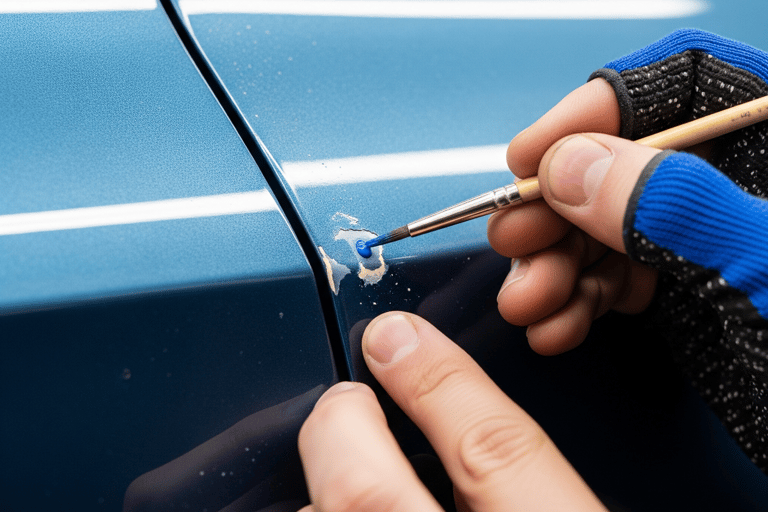
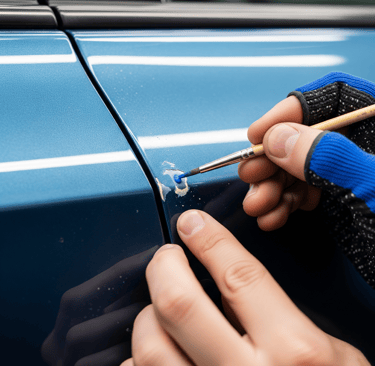
Step 4: Time to Paint! 🎨 Carefully dab a very thin layer of paint into the chip. Don't put a big glob on at once!
How to do it: Wait about 30 minutes for the first thin layer to dry. Then add another. And maybe another. Keep going with thin layers until the chip is full and level with the paint around it.
Step 5: Make It Smooth Once the paint is totally dry, you can gently sand the spot to make it super smooth. The key word here is GENTLY. You just want to flatten the new paint, not take it off.
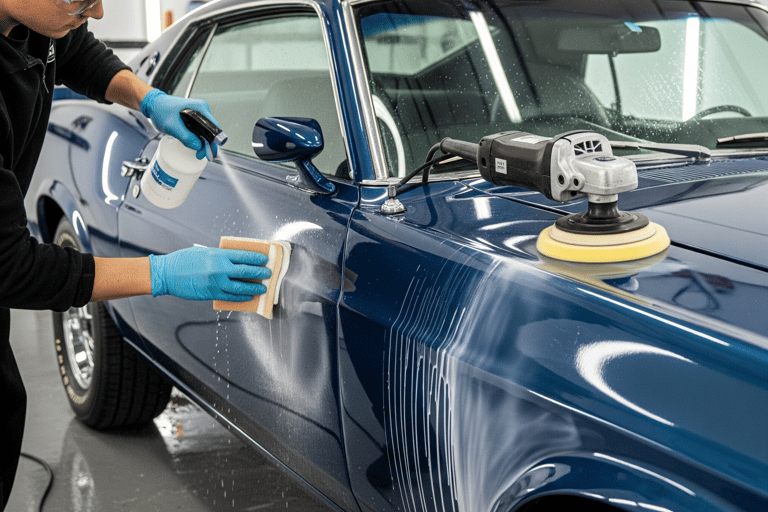
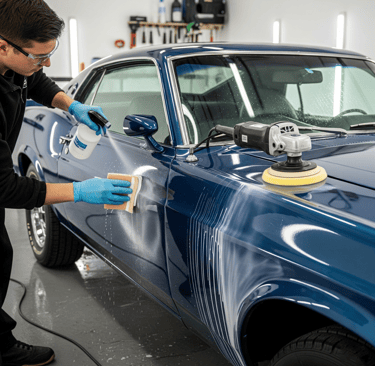
Step 6: Add Some Shine ✨ Now, put a thin layer of clear coat over the new paint. This is like the top coat for nail polish—it protects your work and makes it glossy.
Step 7: Buff It Out After the clear coat is dry, use a clean microfiber cloth to gently polish the area. This helps the new spot blend in perfectly with the rest of your car’s paint.
When Should You Just Call a Pro?
Look, DIY is great, but sometimes you need to call in an expert. Leave it to the pros if:
The chip is huge or super deep, especially if you can see the bare metal.
Your car looks like it has chickenpox with tons of chips all over one area.
You have a rare or tricky paint color that’s hard to match.
If you’re not sure, it never hurts to get a free price quote from a local body shop.
How Much Is This Going to Cost?
DIY: Doing it yourself is super cheap! A touch-up paint kit usually costs between $10 and $50. That’s less than a night out.
Professional: If you go to a shop, a small fix might cost between $100 and $300. For bigger jobs, the price goes up.
Step 2: Check Out the Damage 🤔 Take a close look. Is it a tiny speck, or a bigger crater that shows the bare metal? This tells you how much work it’ll be. For a small chip, you’ll just need a little paint.
Precision
Expert automotive detailing and paint correction services.
Contact us.
Get pro tips and exclusive content
© 2025. All rights reserved. | vehikoloworkx.com